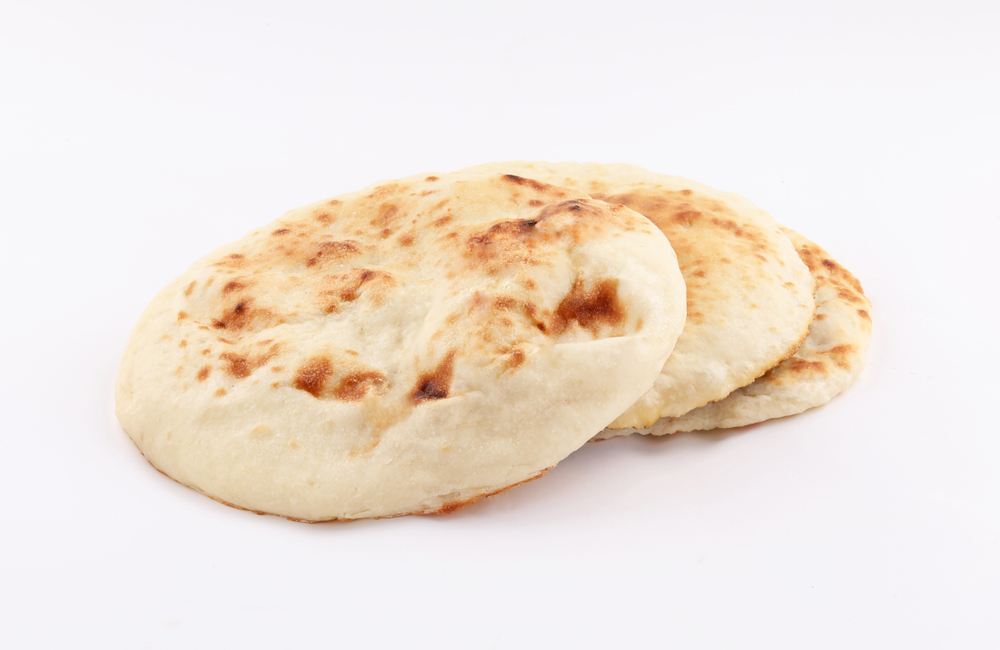
Yield: 8 Pitas
Ingredients:
- 1 cup hot water (approx. 110 degrees)
- 2 tsp yeast
- 2 cups all-purpose flour
- 1/2 cup white whole wheat flour
- 1 tsp salt
- 1 tbs olive oil
Directions:
- Mix the water and yeast together in the bowl of a stand mixer, and let sit for about five minutes until the yeast is dissolved.
- Add the flours, salt, and olive oil.
- Using a stand mixer, attach the dough hook and knead the dough on medium speed for 8 minutes, adding more flour until you have a smooth dough. It’s better to use too little flour than too much.
- Clean the bowl you used to mix the dough and add a little olive oil. Set the dough in the bowl and turn it until it’s coated with oil.
- Cover with plastic wrap and let the dough rise until it’s doubled in bulk, about 1 hour.
- At this point, you can refrigerate the pita dough until it is needed. You can also bake one or two pitas at a time, saving the rest of the dough in the fridge. The dough will keep refrigerated for about a week.
- Gently deflate the dough and turn it out onto a lightly floured work surface. Divide the dough into 8 equal pieces and gently flatten each piece into a thick disk. Using a floured rolling pin, roll one of the pieces into a circle 8-9 inches wide and about a quarter inch thick. Lift and turn the dough frequently as you roll to make sure the dough isn’t sticking to your counter. Sprinkle with a little extra flour if it starting to stick. If the dough starts to spring back, set it aside to rest for a few minutes, then continue rolling. Repeat with the other pieces of dough. (Once you get the hang of it you can be cooking one pita while rolling the next one out.)
- Warm a cast iron skillet over medium-high heat (you want a hot pan). Drizzle a little oil in the pan and wipe off the excess. Lay a pita on the skillet and bake for 30 seconds, until you see bubbles starting to form. Flip and cook for 1-2 minutes on the other side, until large toasted spots appear on the underside. Flip again and cook another 1-2 minutes to toast the other side. The pita should start to puff up during this time; if it doesn’t or if only small pockets form, try pressing the surface of the pita gently with a clean towel.
- Keep cooked pitas covered with a clean dishtowel while cooking any remaining pitas.
Variations & Notes:
- These are best eaten fresh, but will keep in a ziplock bag for a few days or in the freezer.


